I was going to update my Going Whole Hog post on LMR, but I have been pretty darn busy whenever I have internet acess, so I think I will just throw these pictures up here with a quick discription.
I finished up the chassis that I started in the last HOG drive post:
This one was slapped together (yeah, I know, you can tell) but I tried a couple of new things on it, compared to the first version: The new gimbal design, smaller, tougher, better. Mounting the battery on the front axle, giving it a much better C of G, as well as more weight on the front wheels, which prevents them from lifting up in a tight turn. Wider wheels with better grip, and a wider front stance, partially for the same reasons as the battery, and also for turning and tracking straight, I needed more grip.
Because it was slapped together, it wasn,t very strong, and I did not like a few things about it, asmyetrical steering because of the front swingarm not being parallel to the ground, general shoddyness on the build which caused it to fall apart whenever it hit something, that kind of thing. So I built a new one, from the ground up. The only thing structurely that is the same on this one is the rear gimbal, which proved to work great.
Learning from the lessons from the first two, I implemented better wheels, the battery on the front, the improved gimbal, and a stupidly sturdy frame. The frame is made up of 3 layers of studful technic beams arranged in the pattern you can see in the last pic. The top and bottem frame layers are identical, they are fastened together with friction pins, and have a layer of overlapping bricks in the middle fastening the two layers together. The two servos are fixed in place by the shape of the frame, and two rings of zip ties each. This seems to work rather well, and I have had no problems with them. The frame also has zip ties keeping it together in various places, making it extremly sturdy, I have crashed into too much stuff already, and it hasnt shown any signs of breaking or loosening. I also replaced the fan for the ESC, as during one of the previous versions of GWH, one of the fan blades had broken off making the fan unbalanced and very noisy. I ripped the fan you see off of a broken 2000W inverter.
At the moment it is still an RC beast, but hopefully soon I will mount some sonar on the front and a picaxe or arduino on it let it rip. The way these things are made, it has two throttles, one controling the speed of the motor, and the forward/backward servo/gimbal so I will let the microcontroler have control of the forward/backward servo and the steering servo, and keep the ESC throttle on manual RC control. This will let me have a panic kill switch, and also fine tune the speed for the amount of space it has to run on. So far I have only been able to run him around my kitchen and a little on the wood floor in the house, but I stopped on the wood floor because the rubber wheel leaves little rubber streaks.
Here are two videos of it running on my kitchen floor:
And a video that shows the basic movements that the servos do, along with how that changes the angle at which the hemisphere touches the ground.
For the first time in quite a while, I had a bit of time yesterday to work on one of my bots, and I thought I would spend it on Going Whole HOG. I am still using Lego as my main structural element, because it is so rapid to work with, and, come on, its Lego. I made the gimbal for the motor a lot smaller and sturdier, and used screws for everything except wire management, so hopefully it should hold together better, and I also made the frame twice as thick and much sturdier. I shall be keeping the basic rear gimbal for forward and back, and rasing and lowering the front wheels for steering method that I used on the first one. Some pictures:
I decided to try using the black servo for steering, but it proved to be too week to lift the whole chassis comfortably without strain, so that will be replaced with the orange one I used in the first version.
I worked on the hog drive again last night, I made a gimbal bracket out of lego, hot glue and a servo. Ultra high quality I know, but 1, good enough for a prototype, 2, I was going to use aluminum, but lego is better for rapid prototyping (that, and my hacksaw does not have a blade right now...) 3, lego is still pretty sturdy, and 4, the rest of the frame is going to be lego anyway, so the bracket and base should fit together fine.
Some pics of the bracket:
And a frame around it:
The gimbal that you see is for driving, and can move 180 degrees left and right. To steer, it will rase and lower it's rear wheels in tandem, causing a tilt of the whole bot to a "nose up or nose down" attitude. I sort of struggled on how to make the whole bot run, I have seen both a straight up 2 axis gimbal, and one bot that independantly rased or lowered each wheel to drive and steer. I chose the hybrid method because I wanted to have maximum travel latterally so that the whole hemisphere could be used for driving, and max top speed could be reached, and to do this with a regular gimbal would have been tough. I will not get max travel for steering, but really, I do not need to turn at 150 km/h, that is just a bit excessive... We will see how this system works for a first prototype.
I have been working on the HOG drive a bit recently, I went to the local dollar store and found a few hemispheres that I thought might work:
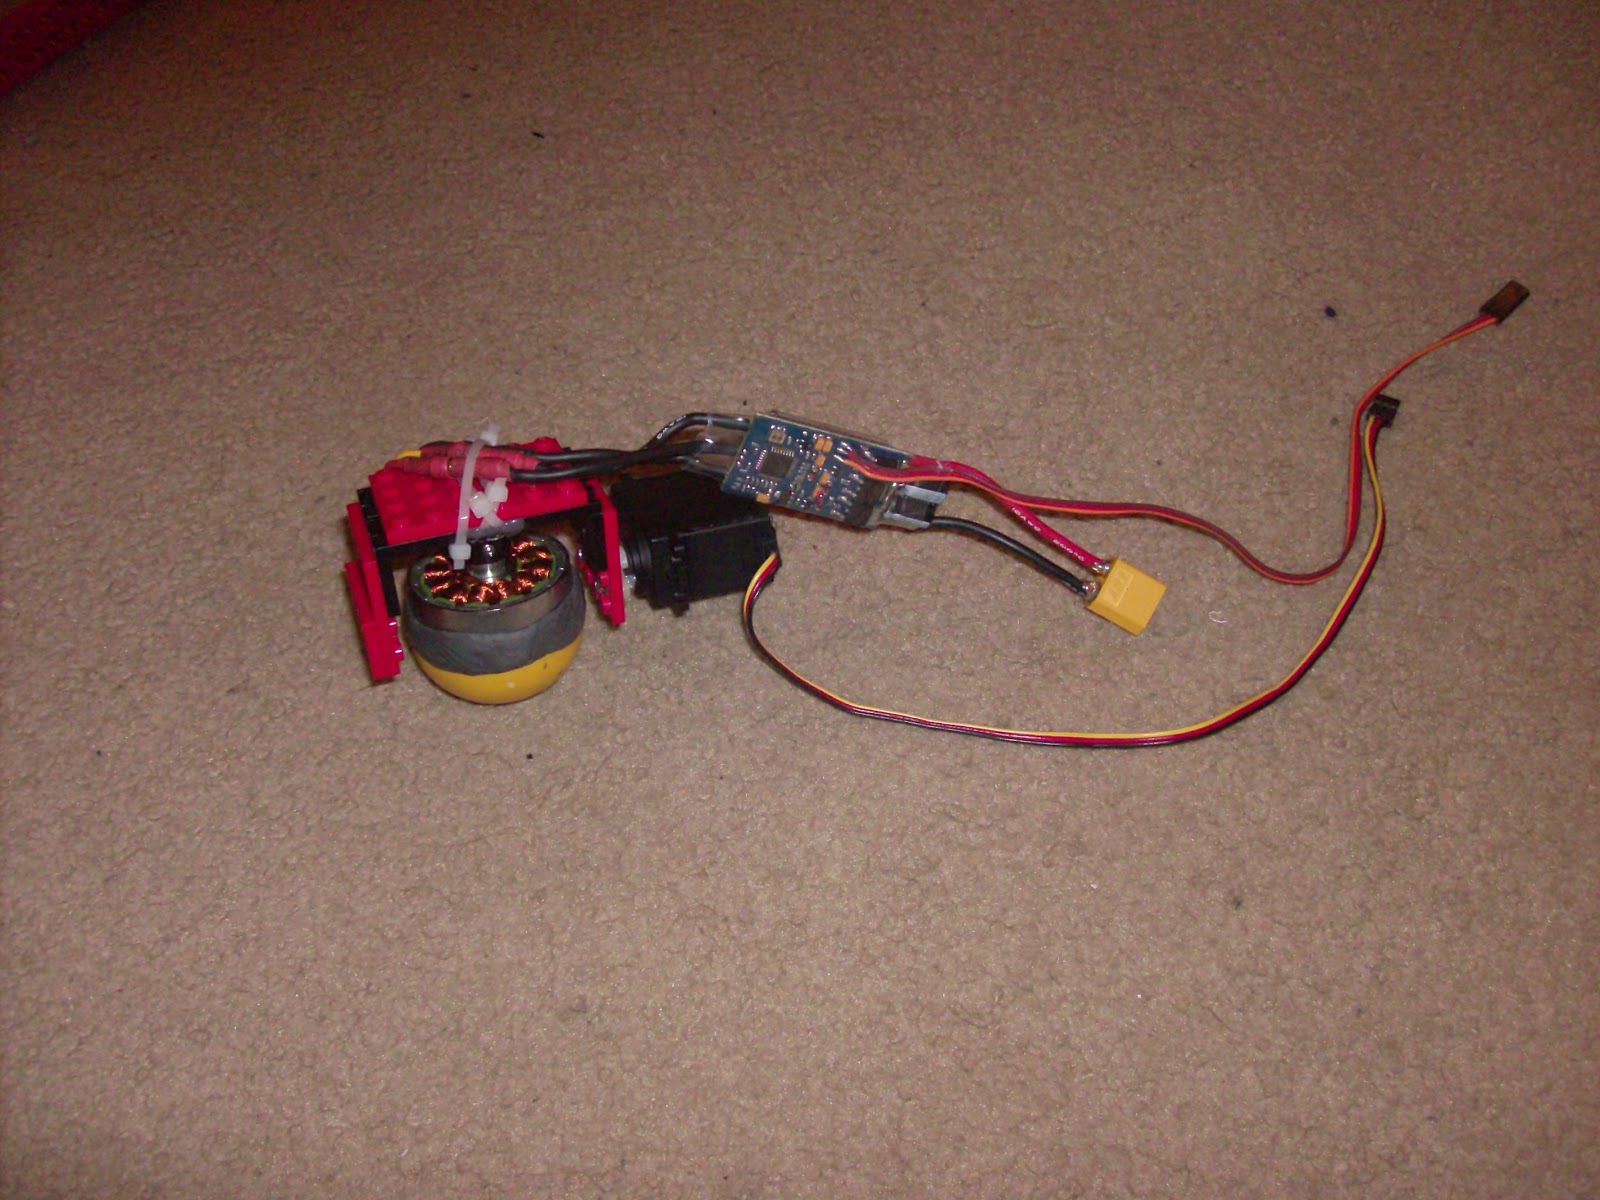
A rubber ball that could be cut in half, a plastic wind up toy, and a rubber "popper" also shown are the bell from the motor I am using, and an epoxy putty stick from harbour freight tools.
Eventually I settled on using the smiley face popper, because it was already a half-sphere, it was rubberey (good traction) and it had a nice center hole right in the middle. I kneeded up some epoxy putty (REALLY nasty smell...) stuffed it into the popper, and pressed it onto the face of my motor (I had cut down the shaft erlier, and thredded two nuts for more surface area for the putty to grab on.), made sure it was centred, and let it cure for 24 hours, here is the result:
From just eyeballing it, the hemisphere is perfectly centered, and spins fine and true at 8000 RPM. The putty ensures that the ball will not deform at high speeds, and has had no problem holding together at those ridiculesly high speeds. Speaking of high speed, I did some calculations, and the theretical top speed of this thing is going to be somewhere over 150 Km/h, not bad for something so small....